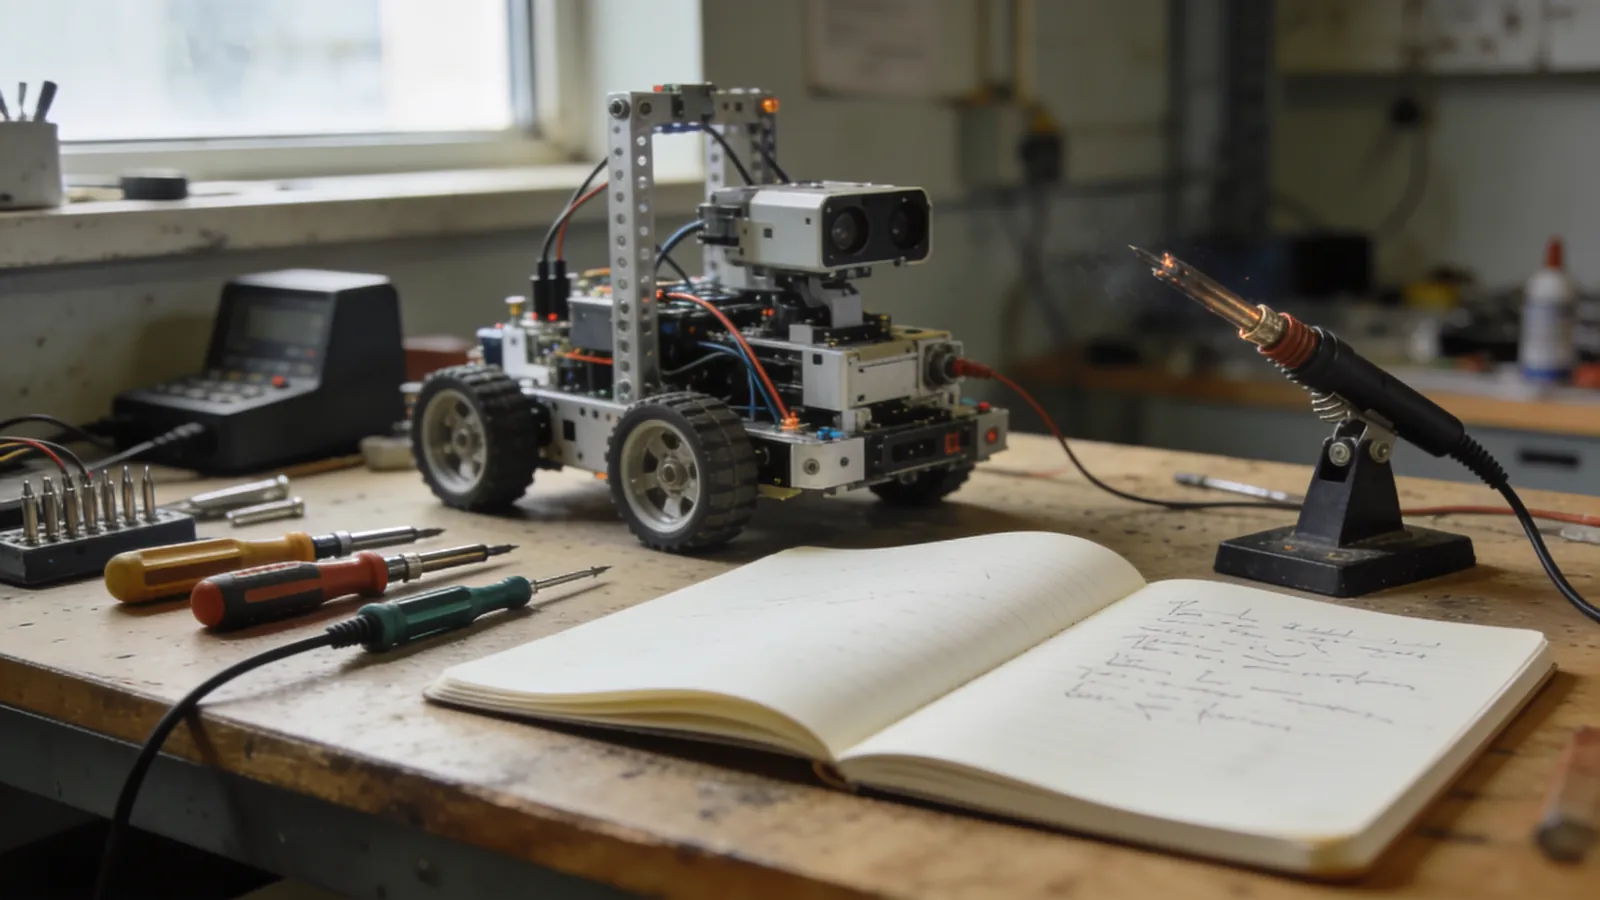
In robotics competitions, what sets the winners apart is generally not technical ingenuity, but the discipline of preparation. The best robots I’ve seen on the field aren’t the ones built with the most expensive parts—they’re the ones that have been tested the most.
This guide was written for teams preparing to compete for the first time. It walks you through the process step by step—from forming a team to reading the rules, from planning your schedule to what you need to pack in your bag on the morning of the competition.
Competition rules, categories, and the schedule may change every year. The information here pertains to general preparation methods; for weight limits, dimensions, and application deadlines, be sure to refer to that year’s official rules.
Choosing the Right Category
Your first decision is which category to compete in. This decision determines your budget, team size, and the time required.
| Category | Difficulty | Typical Budget | For first-timers |
|---|---|---|---|
| Mini sumo | Low-medium | Low | Very affordable |
| Line-following | Low-medium | Low | Very suitable |
| Maze-solving | Medium | Medium | Reasonable |
| Free/human-like | High | High | Challenging |
| Autonomous vehicle | High | High | Requires experience |
My advice for the first year is clear: mini sumo or line follower. Both can be completed in a single season, the material costs are low, and the skills they teach (mechanics, sensors, control) can be directly applied to all other categories.
Building a Team
A large team isn’t necessarily a good team. A team of 3–5 people, where everyone knows their role, makes much faster progress than a scattered group of 10.
Role Distribution
- Mechanics: Chassis, assembly, 3D printing, weight management.
- Electronics: Power system, sensor connections, wiring, soldering.
- Software: Control algorithms, strategy, debugging.
- Documentation and Logistics: Reports, applications, lodging, and material tracking.
The fourth role should not be underestimated. Teams that miss the report deadline cannot compete, no matter how good their robot is.
Each area should have a person in charge, but no one should be the sole expert. If the software developer gets sick on the morning of the competition and the robot doesn’t work, it means the team structure is flawed. At least two people should be able to work on the code.
Reading the Specifications
The rules are boring, but they’re the constitution of your design. Read them from start to finish and extract the following information onto a separate sheet:
- Physical limits: Weight, base dimensions, height.
- Safety rules: Prohibited materials, battery type restrictions, rules regarding sharp edges.
- Start procedure: Start method, waiting time, judge commands.
- Scoring: How points are earned, how penalties are incurred.
- Deadlines: Application, report, video, registration.
Post this page on the workshop wall. Refer to it when making design decisions.
Commonly Overlooked Items
- Start delay. In most categories, you must wait after the start command.
- Emergency stop. A physical switch is required in some categories.
- Battery restrictions. There may be limits on capacity or the number of cells.
- Prohibition on adhesive materials. Substances that increase grip on the floor are generally prohibited.
- Measurement verification method. In some competitions, the robot is placed inside a box for measurement; no parts protruding outside the box are allowed.
A Realistic Schedule
A workable breakdown for a six-month preparation period:
| Phase | Focus | Output |
|---|---|---|
| Month 1 | Specifications, research, category decision | Design draft, bill of materials |
| Month 2 | Parts procurement, mechanical design | Chassis and drivetrain |
| Month 3 | Electronics and initial movement | Robot operated via remote control |
| Month 4 | Sensors and Autonomous Behavior | A robot capable of completing a task |
| Month 5 | Test, test, test | List of Issues and Fixes |
| Month 6 | Strategy, spare parts, report | Race-ready package |
Note: The fifth month is entirely dedicated to testing. That is the most important line in this schedule. Most teams finish building their robots in the fifth month, leaving just one week for testing, and are eliminated when they encounter problems on the field for the first time.
Freeze Date
Freeze the design three weeks before the competition. After that date, only tuning, testing, and spare part production are allowed. Adding new sensors, changing the chassis, or updating the library is prohibited.
Preliminary Round Report
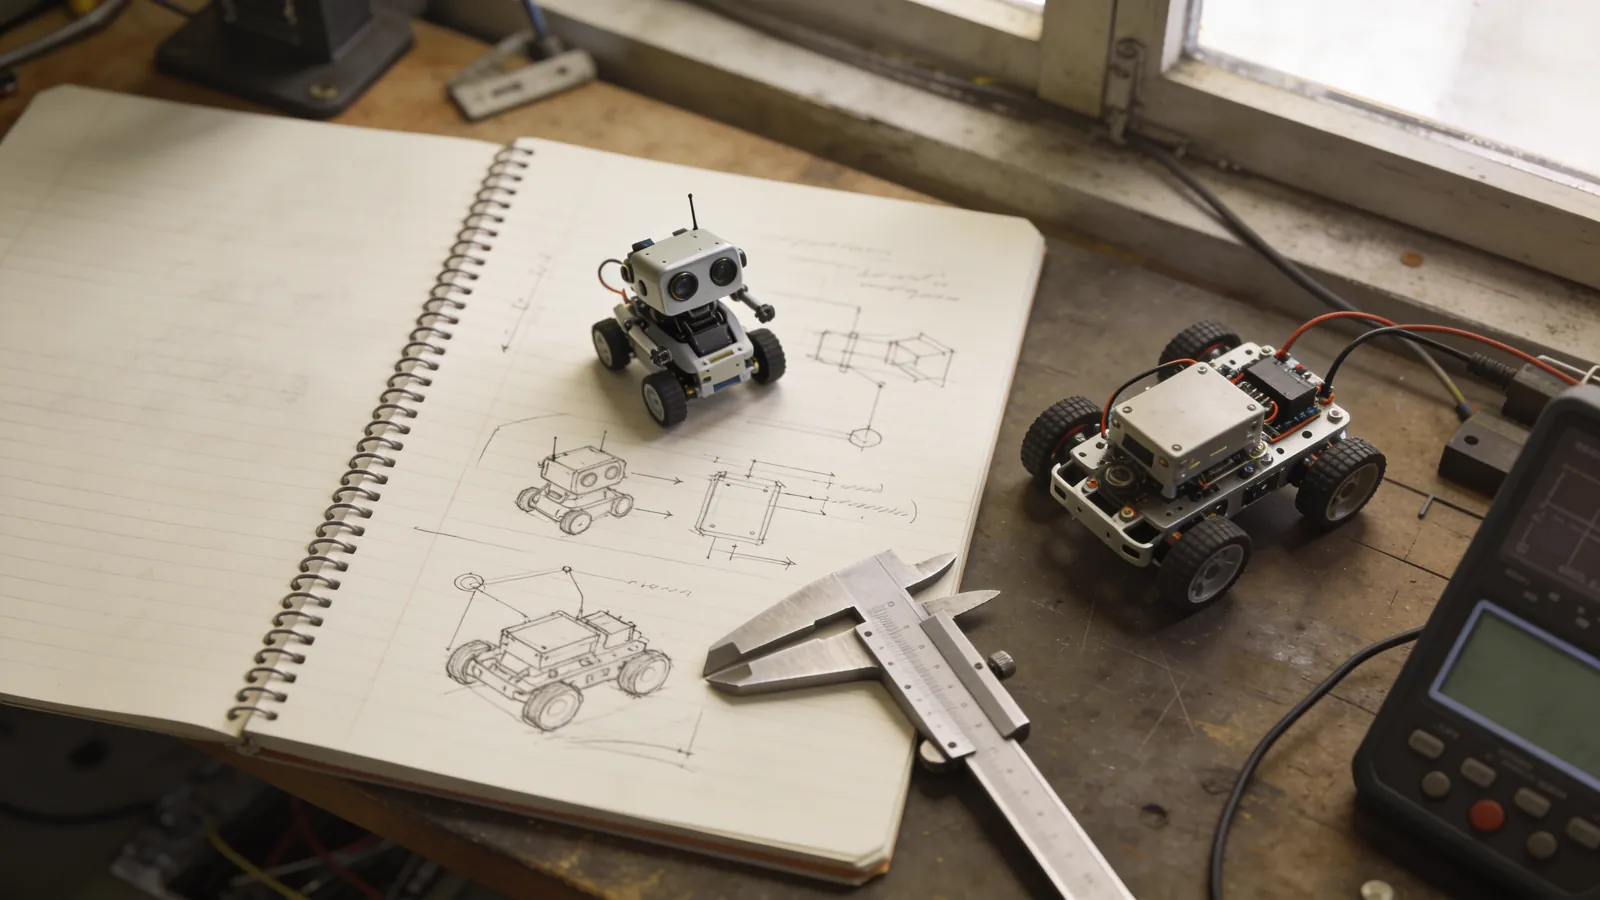
In many competitions, a significant portion of teams are eliminated during the report phase without ever making it onto the field. The report doesn’t show how good your robot is—it shows your thought process.
The difference between a good report and a bad report
Bad: “We used a 12 V DC motor in our robot.”
Good: “Given a robot weight of 480 g, a wheel radius of 3 cm, and a safety factor of 2, the required torque per motor is 1.44 kg·cm. Since the continuous torque of the selected 1:75 gear-reduced motor is 2.1 kg·cm, a 45% margin has been left.”
The difference lies in a single sentence: the rationale. The jury is looking to see if you did the calculations. I demonstrated step-by-step in the motor selection guide how to perform the torque calculation.
Essential elements that must be included in the report
- Problem definition and design objectives
- A table comparing alternatives (why you chose this one, why you didn’t choose the other)
- Calculations: torque, current, weight distribution, power budget
- Circuit diagram and mechanical drawing
- Flowchart of the control algorithm
- Test results and measured data
- Problems encountered and how they were resolved
The last item is particularly valuable. A report that claims no issues were encountered gives the impression of an untested project.
Budget plan
A typical breakdown for small robot categories:
| Item | Share | Note |
|---|---|---|
| Motor + driver | 30% | Don’t skimp—it determines performance |
| Battery and Charging | 15 | A spare battery is a must |
| Sensors | 20 | Keep a spare sensor on hand |
| Mechanical and material | 20 | Broken parts can be remanufactured |
| Control board | 5 | Cheapest item |
| Spare parts and consumables | 10% | Cables, solder, screws, tape |
Allocate at least 10% of your budget to spares. Being eliminated from the competition because a part breaks in the field is far more expensive than the cost of that part.
Securing Funding: Sponsorships and Support
The cost of the robot is the biggest obstacle for most student teams. But there are more ways to find funding than you might think.
School and institutional support
Your school’s operating fund, technology lab, or alumni association should be your first stop. Make your request concrete: Don’t just say, “We’re going to build a robot, and we need money.” Instead, present a detailed budget breakdown with itemized expenses and an explanation of how each item will be used.
Local Companies
Electronics, machinery, and automation companies in your area can provide support in small amounts. They generally prefer to offer material support rather than cash, which is actually beneficial for you: CNC cutting, 3D printing, soldering supplies, or motor donations will directly benefit your project.
What you can offer in return: a logo on the robot, social media posts, a thank-you note after the competition, or a promotional booth at your school.
Sponsorship Proposal
Prepare a document no longer than two pages:
- Page 1: Who your team is, which competition you’re participating in, and what your goal is. A photo of the robot.
- Page 2: Budget table, support options, and what you’re offering in return.
Long proposals aren’t read. Ask for specific figures and clear benefits.
Presentation and Jury Interview
In many competitions, your ability to present the robot is scored just as much as its performance. Prepare before facing the jury.
Questions the jury actually asks
- “Why did you choose this part?” — Know the alternatives and how they compare.
- “How did you arrive at this calculation?” — Explain your torque, current, and weight calculations based on the underlying logic, not by rote.
- “What was your biggest challenge, and how did you solve it?” — Don’t get caught off guard by this question; this is your best chance to give a strong answer.
- “Who did this?” — Every team member should be able to explain their own part.
- “If you were to do it again, what would you change?” — Being able to critique your own design is a sign of maturity.
Three-Minute Presentation
Prepare and rehearse a three-minute presentation about your robot. The structure should be as follows:
- 30 seconds: What is the problem, and what does the category require?
- 60 seconds: Your solution approach and your most critical design decision.
- 60 seconds: How it works—the flow from sensor to motor.
- 30 seconds: What you’ve learned and what you’ll improve.
Don’t hide behind technical jargon. If you can explain something simply, it shows you truly understand it.
Field Kit
What you need to have with you on competition day. Print out this list and put it in your bag:
Tools
- Soldering iron, solder wire, solder pump
- Set of Phillips and flathead screwdrivers (including small sizes)
- Allen wrench set
- Side cutters, needle-nose pliers, tweezers
- Multimeter
- Double-sided tape, electrical tape, cable ties, instant adhesive
Spare parts
- Spare wheel and tire
- Spare motor (if possible)
- Spare sensors (at least one of each type)
- Spare battery, fully charged
- Jumper cables, mixed male-female
- Screw and nut set
Other
- Laptop + charger + USB cable (with spare)
- Extension cord and power strip
- Specification printout
- Test notebook and pen
- LiPo charging bag and balancer
- Water and food — competition days are long
Carry and charge LiPo batteries in a fire-resistant bag. Never use a swollen battery. Refer to the LiPo battery guide for battery safety and proper charging methods; most on-site accidents result from failure to follow these rules.
Race Day
Morning
- Get there early. Registration lines can be long.
- Charge the batteries overnight and check them in the morning.
- Weigh and measure the robot. Humidity in the venue and any last-minute additions may have changed the weight.
In the test area
- Recalibrate the sensors on that floor. The hall lighting is different from your workshop, and this alone can cause the robot to malfunction.
- Test the floor friction; wheel traction may be different.
- Watch your opponents and take notes on their strategies.
Between matches
- Tighten all screws. Vibration loosens them during every match.
- Wipe the wheels with alcohol.
- Measure the battery voltage and replace it if necessary.
- Take notes on what happened: under what circumstances did you lose, and what did the robot do?
Making Testing Measurable
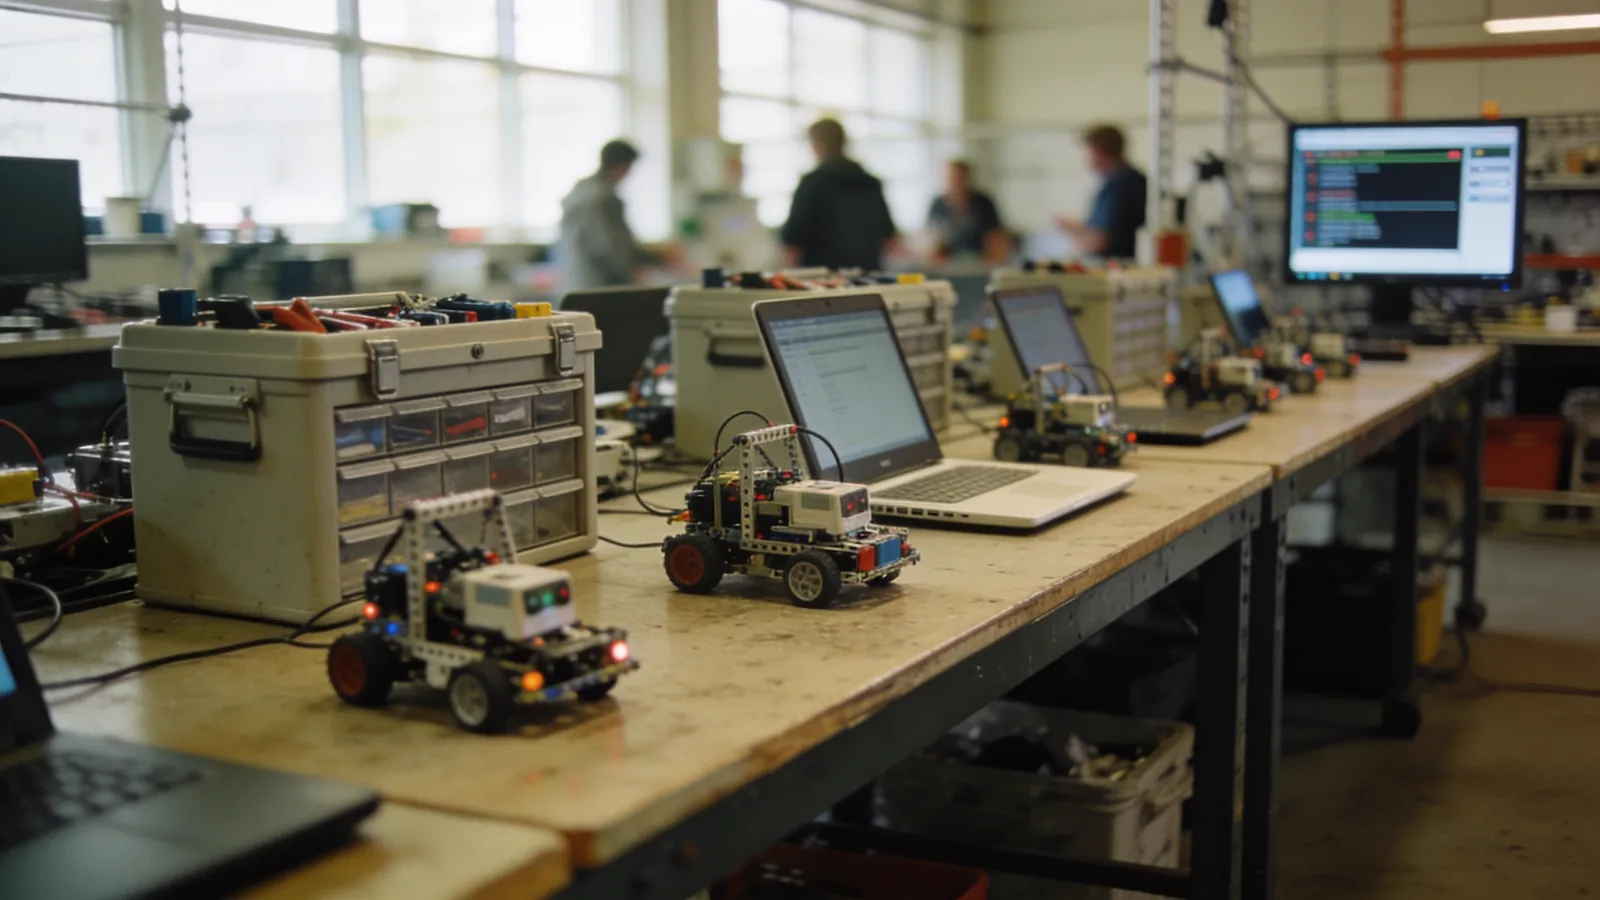
“The robot is working” is not a test result. Before taking the field, you should have specific questions whose answers you already know.
Durability test
On competition day, your robot will complete dozens of laps in a row. Simulate this in the workshop: run the robot continuously for 30 minutes and note the following:
- How hot did the motors get? If they get too hot to touch, the robot will stop during the competition.
- Did any screws loosen? Vibration always causes screws to loosen; if they do, use a screw lock.
- How much did the battery voltage drop, and when did the robot start to slow down?
- Did the code get stuck somewhere? Errors that arise during prolonged operation are the most insidious.
Failure Test
It’s easy to see if the robot works properly; the real question is what it does when it malfunctions. Deliberately create adverse conditions:
| Scenario | Expected Behavior |
|---|---|
| Cover the sensor with your hand | No panic—a defined behavior |
| Lift the robot into the air | The wheels should spin freely; the code should not crash |
| Run it with a half-charged battery | It will slow down, but its behavior should not change |
| Unplug one sensor cable | Continue with the remaining sensors or perform a safe stop |
| Turn the robot upside down | The motors should stop (if equipped with tilt detection) |
| Adjust the room lighting | It should be fixed with recalibration |
Any problem that arises during these tests is a failure you won’t experience in the field.
Record a video
Record the tests on your phone. When the robot makes a mistake, you can only answer the question “What happened?” by watching the slow-motion footage. It’s impossible to keep up with fast robots just by watching them.
Teamwork
Just as much as technical preparation, how the team works determines the outcome. A few simple rules go a long way.
Have a single source of truth
Keep the code, schematics, and parts list in one place, and have everyone work from there. Files sent via WhatsApp kod_son_v3_YENI.ino are the most common cause of a lost season.
If you know how to use Git, that’s best. If not, even a shared cloud folder and a clear file-naming convention can make a big difference.
Weekly rhythm
- Start of the week: What will be finished this week? Everyone should state it in one sentence.
- Midweek: Quick check—is anyone falling behind?
- End of the week: What’s done, what’s not, and why? When carrying over unfinished tasks to the next week, discuss the reasons why.
This rhythm is the simplest tool to avoid the “we’ll get everything done in the last two weeks” trap.
Don’t let knowledge stay with just one person
Assign a lead for each area, but make sure at least two people understand that area. Teams where only one person knows the code can’t compete if that person gets sick. Hold a “presentation session” once a month: everyone should explain their part to the others in ten minutes.
Five classic mistakes that lead to failure
- Changing the design in the final week. Every untested change introduces a new risk.
- Relying on a single robot. If there are no spare parts, the first breakdown ends the round.
- Testing only in the workshop. The real track, real lighting, and real opponents are different.
- Leaving the report until the last day. A good report takes a few days.
- Neglecting battery management. A robot that starts with a half-full battery will slow down in the second match.
Losing Is Also a Win
You’ll likely be eliminated early in your first competition—that’s normal. What matters is clearly identifying your weaknesses and taking notes. You’ll learn more in a single day on the field than you would in three months in the workshop.
To continue your technical preparation: the mechanical and strategy aspects are covered in the Mini Sumo guide, the control aspects in the PID guide, and the sensing aspects in the sensor guide.
Frequently asked questions
Robotik yarışmaya hazırlanmak ne kadar sürer?
İlk kez katılıyorsanız, robotun ilk çalışan halinden yarışma gününe kadar en az 4–6 ay ayırın. Robotu bitirmek genelde sürenin yarısını alır; kalan yarısı test, arıza giderme ve strateji için gerekir. Son iki haftada tasarım değiştirmek en sık yapılan hatadır.
Yarışma takımı kaç kişi olmalı?
Küçük robot kategorilerinde 3–5 kişi ideal. Daha kalabalık takımlarda iletişim maliyeti artar ve iş sahipliği kaybolur. Önemli olan sayı değil, her alanın (mekanik, elektronik, yazılım, dokümantasyon) net bir sorumlusunun olması.
Şartnameyi ne zaman okumalıyım?
Tasarıma başlamadan önce ve baştan sona. Ağırlık, ölçü, güvenlik ve başlangıç kuralları doğrudan mekanik tasarımı belirler. Şartname yarışma öncesi güncellenebildiği için, son sürümü yarışmadan birkaç hafta önce yeniden okuyun.
Ön eleme raporu neden önemli?
Birçok yarışmada takımların önemli bir kısmı sahaya çıkmadan, rapor aşamasında elenir. Rapor robotun ne kadar iyi olduğunu değil, tasarım kararlarınızı gerekçelendirebildiğinizi gösterir. “Bu motoru seçtik” değil, “şu tork hesabı sonucu bu motoru seçtik” yazmalısınız.
Yarışmaya kaç robot götürmeliyim?
Mümkünse bir yedek robot ya da en azından tam bir yedek parça seti götürün. Sahada en sık kırılan parçalar: tekerlek, ön rampa, motor bağlantı braketi ve sensör kabloları. Bu dördünün yedeği çantada olmalı.
Comments
0No comments yet. Be the first to comment!