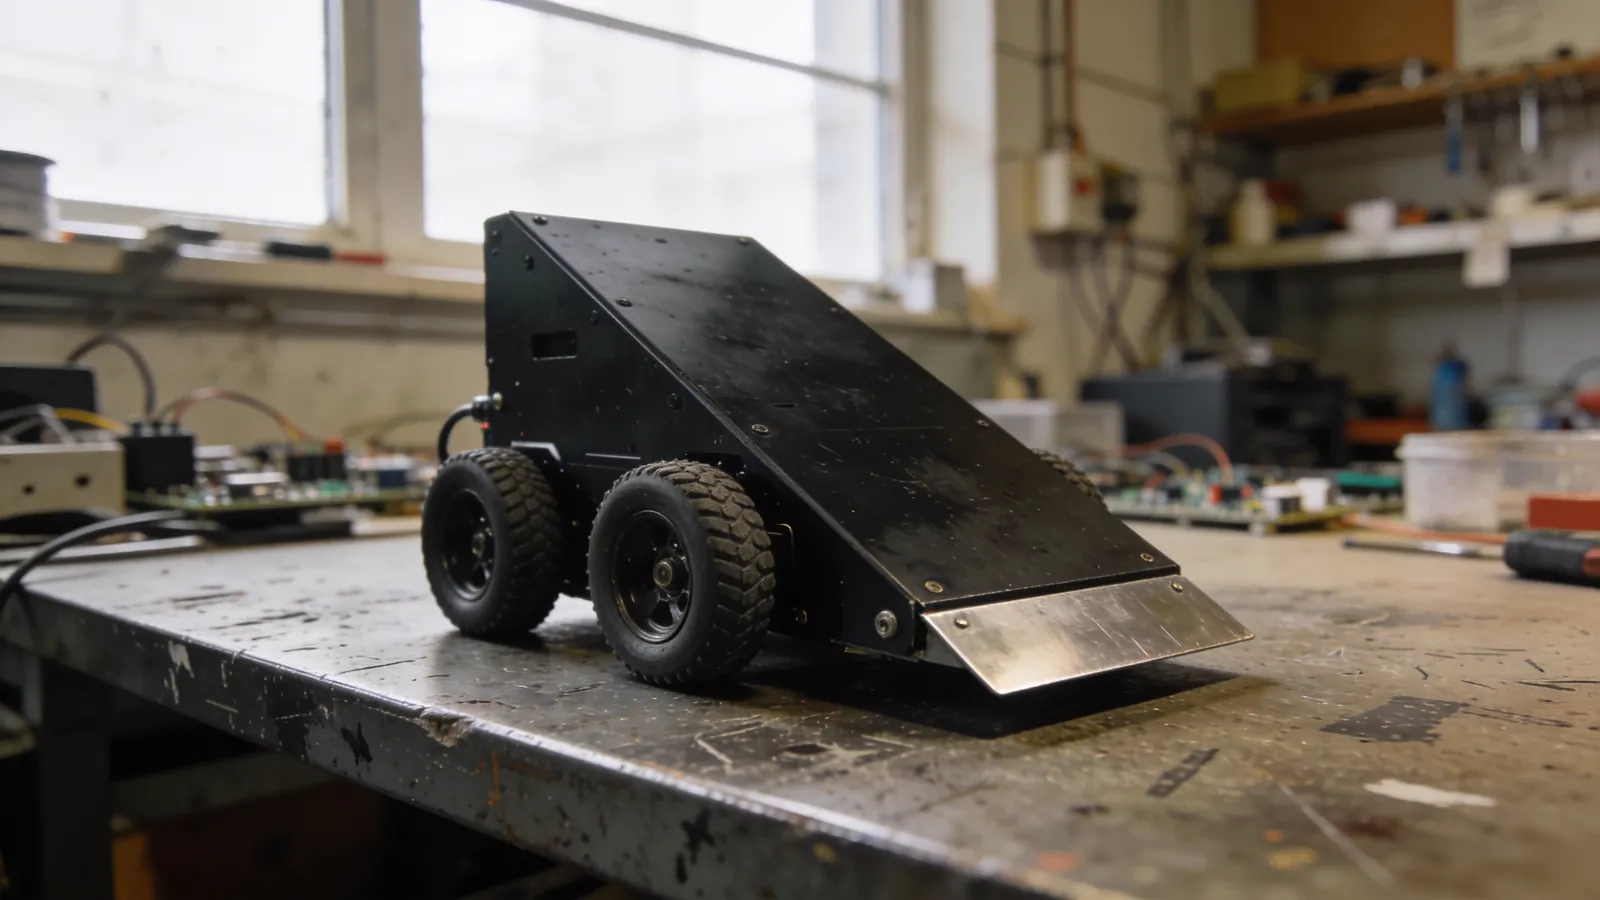
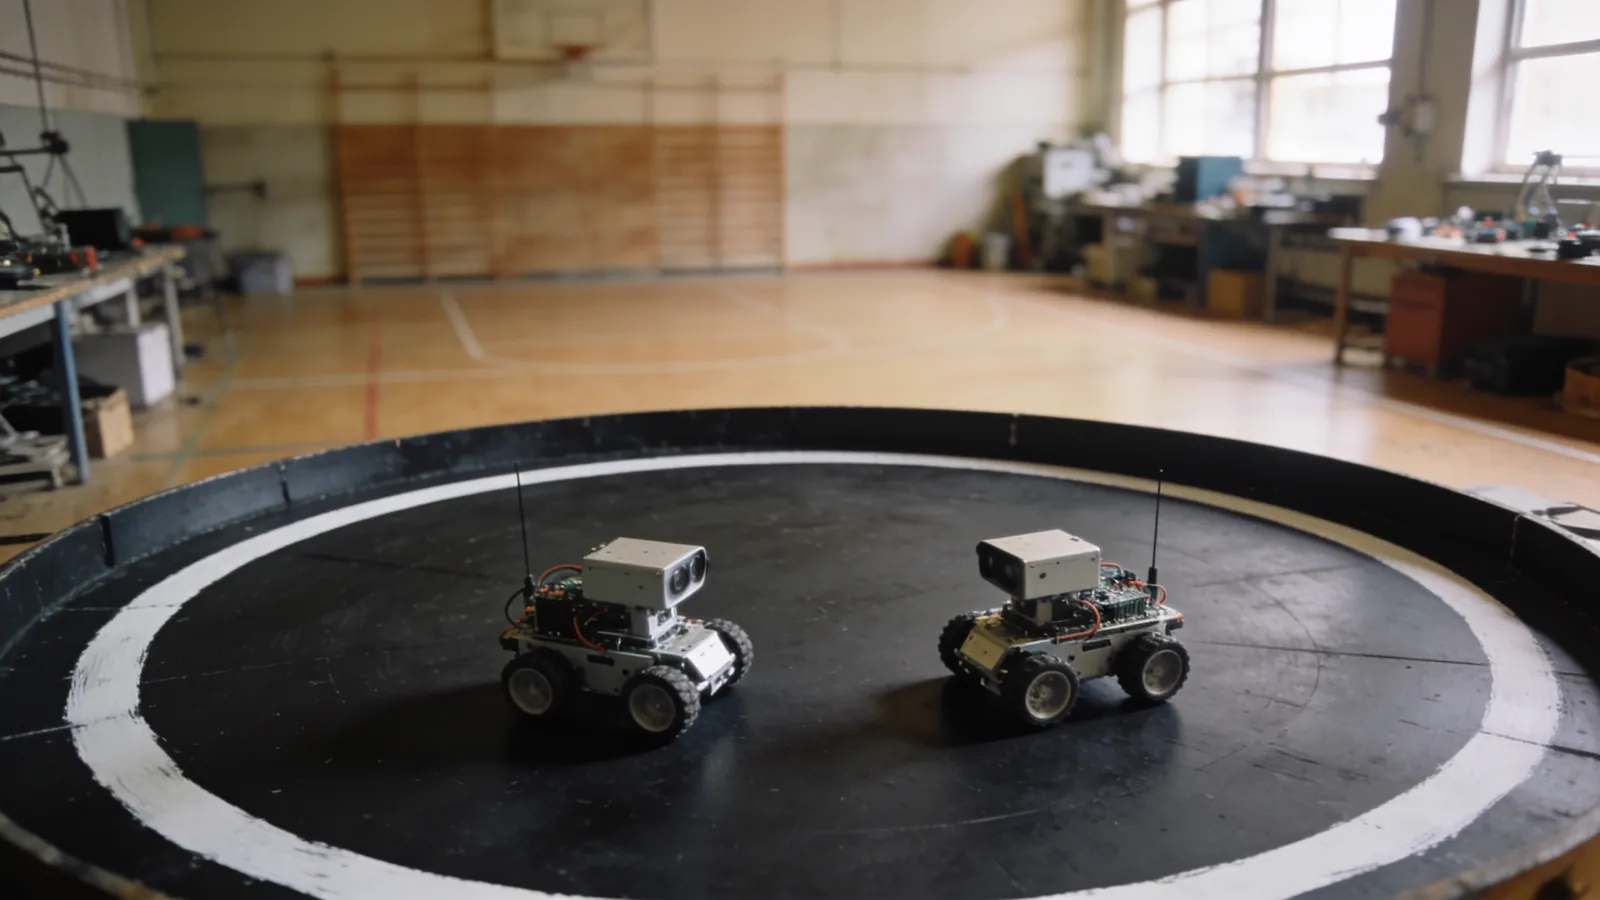
Mini Sumo is the best category for getting started in robotics competitions. The rules are simple: two robots, each measuring 10 × 10 centimeters and weighing no more than 500 grams, face off in a circular ring, and the one that pushes its opponent out of the ring wins. While this set of rules may seem simple, putting it into practice requires getting the mechanics, electronics, and software all right at the same time.
In this guide, I walk you through building a Mini Sumo robot from start to finish: what dimensions to use for the chassis, how to choose a motor, where to place the sensors, how to design the strategy code, and what to check on the morning of the competition. The goal is to help you navigate the process of building your first robot without falling into the common pitfalls everyone faces.
Mini Sumo Rules and Dimensions
Let’s clarify the boundaries first, because all design decisions stem from these. The basic rules for the standard mini sumo class are as follows:
| Rule | Value | What it means |
|---|---|---|
| Maximum weight | 500 g | Includes the battery and all parts. The weight is exact; no tolerance. |
| Maximum base | 10 × 10 cm | It must fit within this square at the start. It can be opened once the match begins. |
| Height | Unlimited | But a low-profile robot always has the advantage. |
| Ring diameter | 77 cm | Black surface with a 2.5 cm white border. |
| Ring height | ~5 cm | A robot that falls off the ring loses a turn. |
| Start delay | 5 seconds | After the "Start" command, the robot must wait 5 seconds. |
Within these limits, weight is the most challenging factor. 500 grams is a budget that dictates the entire design; you can swap out parts below to see where there’s room left.
The 5-second wait rule is the most commonly forgotten requirement. In your code, after the "start" signal, delay(5000) the referee will award the round directly to your opponent. Introduce this delay while the motors are stopped and before sensor readings begin.
Chassis: It all starts with the center of gravity
In mini sumo, what wins isn’t raw power, but the ability to transfer that power to the ground. This is directly related to the center of gravity. The lower and closer to the front the center of gravity is, the greater the robot’s chance of sliding under the opponent and lifting it up.
Material Selection
There are three practical options for the chassis:
- Aluminum sheet (2–3 mm): Stiff, heavy, and inexpensive. Useful for bringing the weight up to 500 grams, since weight is already a requirement. Cutting and drilling it is a bit of a hassle.
- PLA/PETG 3D printing: Easily handles complex geometries and is lightweight. However, it breaks on impact. Do not use 3D-printed parts for high-impact areas, such as the front ramp.
- Composite / carbon plate: The best option but expensive. Not necessary for the first robot.
My recommendation for the first robot is a combination of a 3 mm aluminum base and a 3D-printed top cover. The weight stays at the bottom, and the electronics on top are easy to replace.
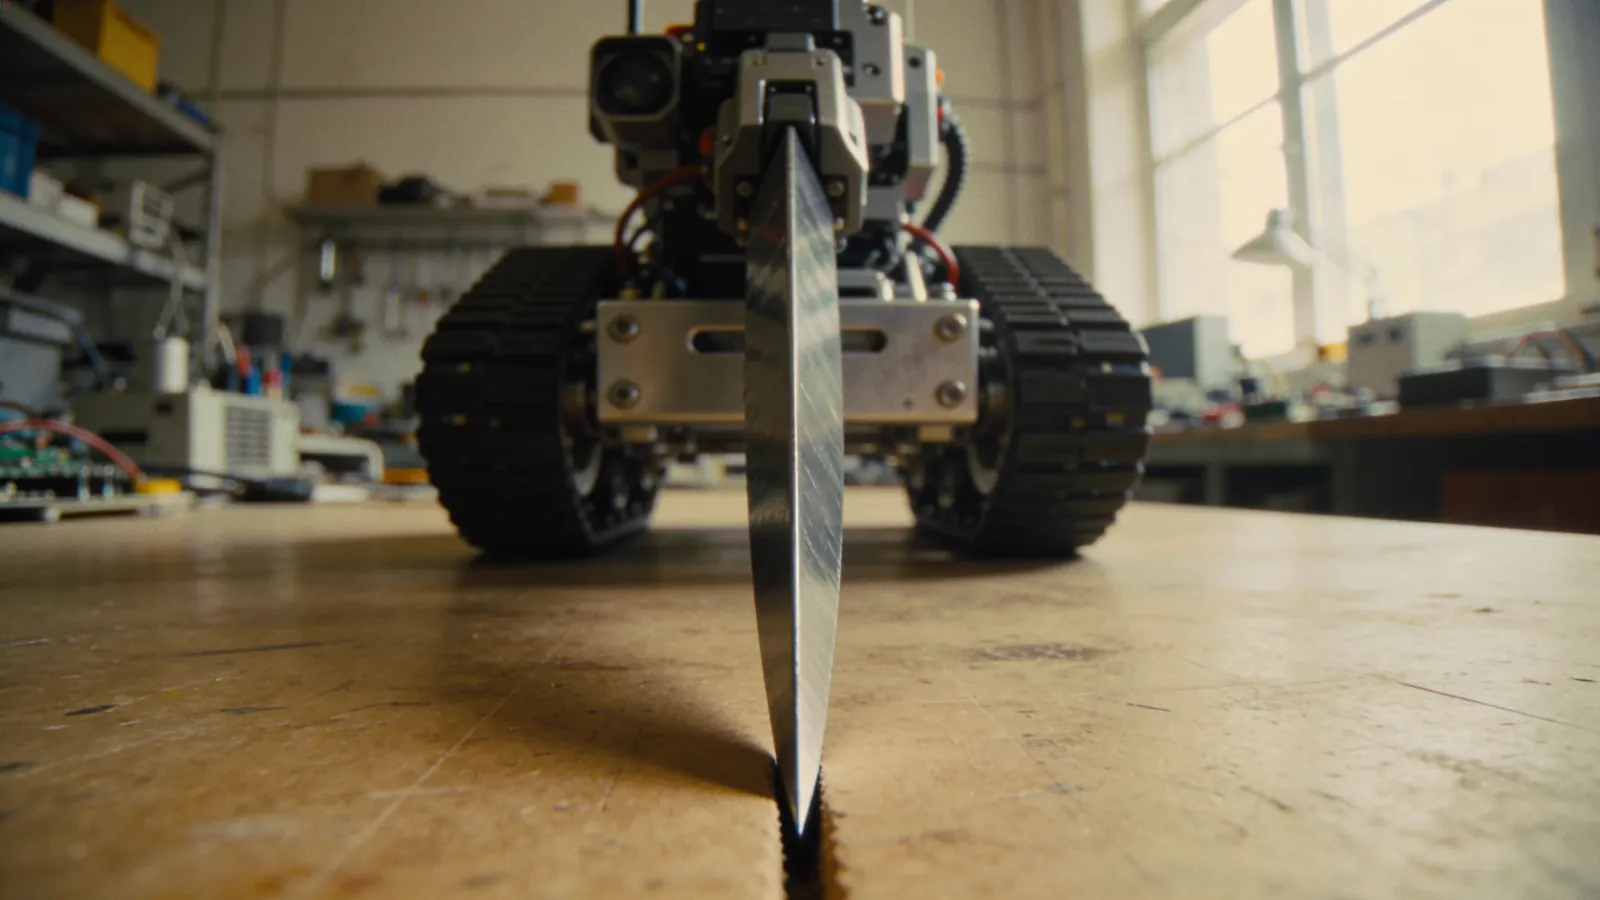
Front ramp (blade)
The critical part of a mini sumo robot is the slanted plate at the front. Its job is to slide under the opponent and knock it off the ground. Three things are important in ramp design:
- Angle: Between 15–25 degrees. If it’s steeper, it won’t slide under the opponent; if it’s too shallow, it’ll scrape the ground.
- Ground clearance: The tip of the ramp should be 0.2–0.5 mm above the ground. Zero clearance causes friction; more than 1 mm will miss the opponent.
- Material: Hardened steel is best. Aluminum bends after just a few matches.
Motor Selection and Traction
In mini sumo, choosing a motor is about striking a balance between torque and RPM. A motor that’s too fast can’t push the opponent, and one that’s too slow can’t maneuver.
The Right Gear Ratio
The range that works in practice is as follows:
| Gear Ratio | Approximate RPM | Character |
|---|---|---|
| 1:30 | ~800 rpm | Fast but with weak thrust. For a runaway robot strategy. |
| 1:50 | ~400 rpm | Balanced. The safest choice for a first robot. |
| 1:100 | ~200 rpm | Very powerful, slow. Pure thrust strategy. |
| 1:150+ | <150 rpm | The opponent will circle around you. Not recommended. |
Check out my robot motor selection guide, where I take an in-depth look at motor power and driver selection; there, I provide torque calculations and driver board comparisons with specific numbers.
Wheels: the most overlooked component
If your robot isn’t pushing the opponent, check the wheels before assuming the problem is torque. The mini sumo ring is smooth and painted; hard plastic wheels will slip here.
- Silicone wheels: Best grip. But they collect dust, so you’ll need to wipe them down before every match.
- Polyurethane: Offers slightly less grip than silicone but is much more durable.
- Rubber (standard hobby wheel): Acceptable, inexpensive.
- Hard plastic: Do not use.
Wipe the wheels with isopropyl alcohol before every match. Dust and fingerprints noticeably reduce the grip of silicone wheels. This is the biggest performance boost at zero cost.
Sensors: detect the opponent, prevent falling out of the ring
A mini sumo robot has two distinct sensing tasks, and it’s important not to confuse them.
1. Opponent detection (distance sensors)
You have three main options to choose from:
| Sensor | Range | Response time | For Mini Sumo |
|---|---|---|---|
| Sharp GP2Y0A21 | 10–80 cm | ~38 ms | Classic choice, analog output, inexpensive |
| VL53L0X (ToF) | 3–200 cm | ~20 ms | Fastest and most stable, I2C |
| HC-SR04 (ultrasonic) | 2–400 cm | ~60 ms+ | Slow, wide angle — weak in sumo |
Response time is critical at competition speeds. If an opponent moves 1 meter per second, a 60 ms delay translates to a 6-centimeter error. That’s why ToF sensors are the top choice for serious robots. In my distance sensor guide, where I compare sensor families one by one, I explain the measurement logic and weaknesses of each.
Use at least three sensors for placement: left-front, center, and right-front. With five sensors (at 45 degrees to the sides), you’ll also detect when an opponent circles around from the side.
2. Edge Detection (Floor Sensors)
These sensors ensure the robot’s survival. As soon as it detects the white strip at the edge of the ring, the robot must back away.
- Place QRE1113 or TCRT5000 sensors at each of the robot’s four corners.
- The height above the floor should be 3–5 mm. Any higher will weaken the black-and-white contrast.
- Place the reading loop at the very beginning of the code. When the edge sensor is triggered, all other logic must be disabled.
Strategy code: simple and seamless
The most common mistake in Mini Sumo software is overcomplicating the code. Winning robots’ code is generally very simple. The basic structure should operate in the following order of priority:
void loop() {
  // 1. ÖNCELİK: kenar kontrolü — her şeyin önünde
  if (kenarGoruldu()) {
    geriKac();
    donus(160);
    return;
  }

  // 2. ÖNCELİK: rakip görüldü mü
  int yon = rakipYonu();
  if (yon == ORTA)      { ileriTamGuc(); }
  else if (yon == SOL)  { solaDon(); }
  else if (yon == SAG)  { sagaDon(); }
  else                  { aramaDeseni(); }
}
Points to note:
- Edge control always comes first. Even if you’re pushing the opponent, you must stop when you reach the edge.
delay()Do not use it. Code blocked during a motor maneuver cannot detect the edge sensor.millis()Set up timing based on the edge.- Don’t use a fixed search pattern. A robot that constantly turns in the same direction is predictable. A pattern that alternates between left and right or follows a spiral path yields better results.
Opening Strategies
What you do in the first five seconds determines half the match. Common openings:
- Straight attack: Move directly forward. Simple and effective if the opponent is slow.
- Side-step: Slide 45 degrees to the side first, then turn. Thwarts the opponent’s straight attack.
- Wait-and-see: Spin in place to look for the opponent. Safe but wastes time.
Power System
In mini sumo, the battery serves as both a power source and a weight balancer. With a 500-gram weight limit, battery selection directly affects the design.
A common choice is 2S LiPo (7.4 V) packs. A capacity range of 850–1300 mAh is more than sufficient for a day of competition. A 3S (11.1 V) pack provides more power, but be sure to check the motors’ voltage limits; supplying 11 V to a motor rated at 6 V will significantly shorten its lifespan.
I’ve explained in detail what the S, C, and mAh values of LiPo batteries mean, as well as charging and storage rules, in the LiPo battery guide—be sure not to skip the section on how to store the battery you’re taking to the race.
Never leave a LiPo battery unattended while charging, and always charge it in a fireproof bag. Do not use a swollen battery; dispose of it. Battery-related accidents at race venues occur more frequently than you might think.
Electronics and Wiring
Mini Sumo electronics aren’t complicated, but they’re cramped. You need to fit a control board, motor driver, eight sensors, a battery, and a start module into a 10 × 10 centimeter space. That’s why planning from the start is essential.
Board Layout
Think in layers:
- Bottom layer: Motors, battery, and ground sensors—anything that keeps the weight low.
- Middle layer: Motor driver board. Keep the thick power cables short.
- Top layer: Control board, start module, and distance sensors.
Route the motor cables separately from the sensor cables. Brushed DC motors generate significant electrical noise; if the cables run side by side, this noise will couple into the sensor line, causing the robot to start detecting “phantom” obstacles.
Noise Suppression
Three simple precautions eliminate most unexplained behavior:
- A 100 nF capacitor on each motor terminal. Solder one between each pair of motor terminals and one from each terminal to the chassis.
- An electrolytic capacitor on the power supply line. Add a 470–1000 µF capacitor to the input terminals of the driver board; this compensates for the voltage drop during motor startup.
- Keep sensor lines short and twisted. Twisting the signal and ground wires together significantly reduces radiated noise.
Start Module
In most competitions, the robot is started and stopped using an infrared remote control. Include this module in the design from the beginning—adding it later creates both space and weight issues.
The receiver must be located on the top surface, in a spot not shaded by the body, so it can detect the referee’s signal. In the code, ensure that the five-second delay after the start signal is received occurs while the motors are stopped.
Three Setup Options Based on Budget
It’s possible to compete in the same category with very different budgets. Here are three realistic levels:
| Component | Entry Level | Mid-level | Competition level |
|---|---|---|---|
| Chassis | 3D-printed PLA | Aluminum + 3D printing | Aluminum / composite |
| Motor | Plastic gearbox | With metal gearhead 1:50 | With metal gearbox + encoder |
| Driver | L298N | TB6612FNG | VNH2SP30 |
| Distance sensor | 2 × HC-SR04 | 3 × Sharp | 5 × VL53L0X |
| Floor sensor | 2 × TCRT5000 | 4 × QRE1113 | 4 × QRE1113 |
| Battery | 6 × AA | 2S LiPo 850 mAh | 2S LiPo 1300 mAh + spare |
| Wheel | Pre-installed rubber | Silicone | Custom-molded silicone |
The entry-level setup is enough to get you through a lap in your first race and see where you’re falling short. The intermediate level is where you’ll be able to compete in most local races. Move up to the advanced level only after you’ve figured out what you’re missing in the first two levels—otherwise, expensive parts won’t solve the problem.
Setting up a test rig
You can conduct meaningful tests in the workshop even without an actual track. You’ll need three things.
1. Track simulation
A standard ring is 77 cm in diameter, with a black surface and a 2.5 cm white border. You can create this on an MDF board using matte black paint and white tape. Don’t use glossy paint; infrared sensors may read glossy black as white.
2. Stationary opponent
If you don’t have an opponent robot, use a box of the right weight. A 500-gram block is more than enough to test your pushing and pulling forces. A simple remote-controlled vehicle will also work as a moving opponent.
3. Test Log
Write down what you changed and the result for each test. Three columns are enough: what I changed, what happened, what I should do. Without this logbook, you won’t be able to remember which change worked.
Competition Day Checklist
Finishing the robot and being ready for the competition are two different things. I’ve seen the same problems on the field for years. Bring this checklist with you:
- Weight: Does the robot weigh less than 500 grams in its final form? Check this even with a spare battery installed.
- Dimensions: Does it fit within a 10 × 10 cm square? Even a screw head sticking out can be a problem.
- Threshold calibration: The arena lighting is different from your workshop. Recalibrate the floor sensor threshold on the ring.
- Spare parts: Spare wheel, spare battery, soldering iron, screwdriver set, double-sided tape.
- Screw check: Tighten all screws after every match. Vibration causes them to loosen.
- Start module: Is the remote start module working, and is the battery fully charged?
I’ve covered the entire competition preparation process—from the application process to team organization—in the TEKNOFEST and robotics competition preparation guide.
Five Common Mistakes
- Leaving weight considerations for last. Calculate the 500-gram limit at the beginning of the design process. It’s much harder to make a finished robot lighter.
- Adding the floor sensor later. Reserve a spot for it in the mechanical design from the start; squeezing a sensor underneath later disrupts the floor clearance.
delay()Writing code that blocks movement. Blocking code renders the edge sensor ineffective.- Using the same search pattern. Opponent robots are learning—you need to change your strategy too.
- Failing to test the ring. A robot that works on a table behaves completely differently on the actual ring surface.
Where to Start
Your first mini-sumo robot won’t be perfect—and it doesn’t need to be. The goal is to get a working robot into the ring and see what’s missing. Proceed in this order:
- Build a platform that moves using a simple aluminum base + two gearmotors + a 2S LiPo battery.
- Add ground sensors to all four corners and program it to avoid the edge.
- Add opponent tracking using three distance sensors.
- Install the front ramp and improve traction.
- Fine-tune your strategy and search pattern in the final stage.
If you’re new to Arduino, I recommend reading the Arduino beginner’s guide first; once you’ve grasped the basics of motor control and sensor reading, the sumo code becomes much easier to understand.
Frequently asked questions
Mini sumo robot kaç gram olmalı?
Standart mini sumo sınıfında ağırlık sınırı 500 gram, taban ölçüsü ise 10 × 10 cm’dir. Robot yükseklik sınırı yoktur ama maç başladıktan sonra bu ölçüleri aşabilir. Tartıya girmeden önce pil, tekerlek ve tüm vidalar takılı olarak tartın; birçok takım 505–510 gram ile diskalifiye olur.
Mini sumo için hangi motor kullanılmalı?
Yüksek torklu, düşük devirli redüktörlü DC motorlar tercih edilir. Pratikte 1:50 ile 1:100 arası redüksiyon ve motor başına 3–6 kg·cm tork iyi bir başlangıçtır. Devir olarak 200–500 rpm aralığı, hem itiş gücü hem manevra için dengelidir.
Mini sumoda hangi sensörler zorunlu?
İki grup sensör şart: rakibi bulmak için mesafe sensörleri (Sharp GP2Y0A21, VL53L0X veya HC-SR04) ve ringin beyaz kenarını görüp düşmemek için zemin sensörleri (QRE1113 veya TCRT5000 gibi kızılötesi yansımalı sensörler). Zemin sensörü olmayan robot ilk 10 saniyede ringden çıkar.
Mini sumo robot yapımı ne kadara mal olur?
Türkiye’de 2026 fiyatlarıyla temel bir mini sumo robot 2.500–5.000 TL bandında çıkar. Maliyetin büyük kısmı motorlar ve pildir. İlk robotu ucuz parçalarla yapıp, çekiş ve sensör tarafına sonra yatırım yapmak en mantıklı yol.
Mini sumo robotu neden rakibi itemiyor?
Neredeyse her zaman sebep tork değil çekiştir. Ağırlık merkezi yüksekse, tekerlek kauçuğu sertse ya da ağırlık ön tekerleklere binmiyorsa robot tekerlek döndürür ama ilerlemez. Önce silikon/poliüretan tekerlek ve alçak ağırlık merkezi deneyin.
Comments
0No comments yet. Be the first to comment!