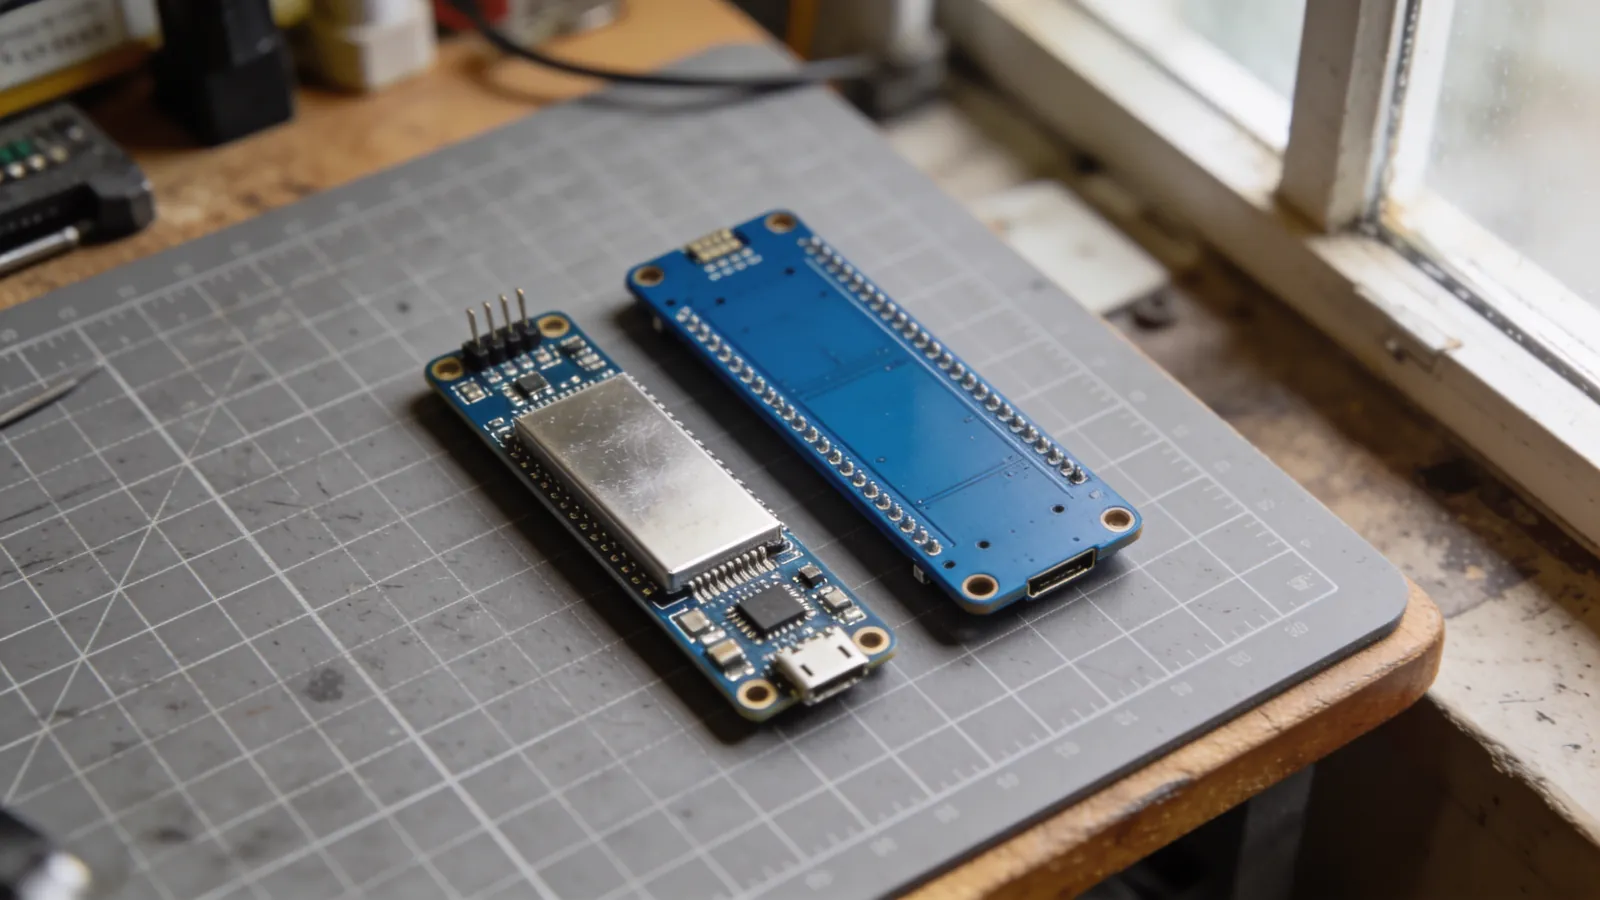
There’s no single right answer to the question, “Should I get an ESP32 or an Arduino?” because they solve different problems. On paper, the ESP32 seems superior in every way—it’s faster, cheaper, and has built-in Wi-Fi—but in practice, there are still situations where the Arduino performs better.
In this article, I’m comparing the two boards in terms of real-world use: which one causes fewer problems in which projects, what pitfalls to watch out for, and what to keep in mind when switching between them.
Technical Comparison
Let’s start with the numbers. The comparison is between the Arduino Uno R3 (ATmega328P) and the widely used ESP32-WROOM-32 module:
| Feature | Arduino Uno | ESP32-WROOM |
|---|---|---|
| Processor | 8-bit AVR, 16 MHz | 32-bit dual-core, 240 MHz |
| SRAM | 2 KB | 520 KB |
| Flash | 32 KB | 4 MB (typical) |
| Logic level | 5 V | 3.3 V |
| Digital I/O | 14 | ~34 (some limited) |
| ADC | 6 channels, 10-bit, linear | 18 channels, 12-bit, non-linear |
| DAC | None | 2 channels, 8-bit |
| PWM | 6 pins | 16 channels, assignable to each pin |
| Wi-Fi / Bluetooth | None | Yes (802.11 b/g/n + BLE) |
| Active current consumption | ~45 mA | ~80–260 mA (with Wi-Fi) |
| Deep sleep | ~35 µA | ~10 µA |
The raw power difference is striking: the ESP32 is about 15 times faster and has 260 times more RAM. So why doesn’t this automatically make it the go-to choice for every project?
“ESP32” is no longer a single chip—it’s a family
The comparison above is based on the classic ESP32-WROOM-32 module. But since 2016, Espressif has expanded its family, and today, the phrase “I bought an ESP32” doesn’t mean much on its own. Which chip you use directly affects your project.
The most significant turning point is the architecture: while the classic ESP32 and S series use Xtensa cores, the C series has switched to RISC-V. From the user’s perspective, this difference is often invisible (your Arduino code compiles on both), but it has changed the price and power consumption.
| Chip | Architecture | Key Features | When to Choose |
|---|---|---|---|
| ESP32 (classic) | Xtensa, dual-core | Wi-Fi + BLE, plenty of analog inputs | Default choice; most examples and libraries |
| ESP32-S2 | Xtensa, single-core | USB OTG, advanced touch | No Bluetooth — a narrow niche |
| ESP32-S3 | Xtensa, dual-core | Vector instructions (AI/ML), USB OTG, PSRAM | Camera, audio, edge AI |
| ESP32-C3 | RISC-V, single-core | Low-cost, low-power, Wi-Fi + BLE 5 | A modern alternative to the ESP8266 |
| ESP32-C6 | RISC-V | Wi-Fi 6, BLE 5, Zigbee / Thread | Smart home, Matter-compatible devices |
| ESP32-H2 | RISC-V | Zigbee / Thread, no Wi-Fi | If it’s only going to be a mesh network node |
What does this mean in practice?
- The S3 is significantly faster than the classic ESP32 in image and audio processing thanks to its vector instructions. If you’re planning to perform object recognition with a small camera, this is the chip you’re looking for. Still, don’t expect Raspberry Pi-level image processing.
- The C3 makes a lot of sense for robotics projects as “the cheapest Wi-Fi-enabled board that’ll get the job done.” Since it’s single-core, you can’t separate network traffic from the control loop—if you have critical timing requirements, stick with the classic ESP32.
- The Zigbee/Thread support on the C6 is geared more toward smart home applications than robotics. If you’re building a Matter-compatible device, this is the right choice.
- The lack of Bluetooth on the S2 is a common surprise. Most complaints like “I bought an ESP32 but BLE isn’t working” come from the S2 board.
When purchasing a board, check the suffix in the product name. A listing that says “ESP32 DevKit” could refer to the classic ESP32, the S3, or the C3—and all three have different pin layouts. If you design your project’s schematic based on one chip and then receive a different one, all the pin numbers will change.
Programming language: A broad ecosystem beyond Arduino
The Arduino Uno is practically programmed in only one way: using the Arduino IDE and C/C++. The ESP32’s hardware capabilities, however, support multiple development environments, which can save significant time depending on the project.
1. Arduino core (C/C++)
The most well-known method. setup() / loop() The structure works exactly the same, and most Arduino libraries are compatible. The learning curve is virtually nonexistent. In exchange, you won’t have access to some of the chip’s low-level capabilities (such as special sleep modes, precision timers, and the RMT peripheral).
2. MicroPython / CircuitPython
You can run Python directly on the ESP32. You just need to prepare the board with the firmware once, and then .py simply copy the file—no compilation, no waiting for the upload.
# MicroPython — Wi-Fi'a bağlan ve sensör oku
import network, machine, time

wlan = network.WLAN(network.STA_IF)
wlan.active(True)
wlan.connect('AgAdi', 'sifre')

while not wlan.isconnected():
    time.sleep(0.2)
print('IP:', wlan.ifconfig()[0])

adc = machine.ADC(machine.Pin(34))
adc.atten(machine.ADC.ATTN_11DB)

while True:
    print(adc.read())
    time.sleep(1)
When it makes sense: IoT prototypes, projects that read sensors and send data, rapid prototyping. Writing code and seeing the result in seconds is much smoother than the C++ compilation cycle.
When to avoid it: Since it’s an interpreted language, it’s noticeably slower than C++ and has unpredictable timing. Don’t use MicroPython for tasks that require a fixed period, such as motor control loops or PID control.
3. ESP-IDF (official SDK)
Espressif’s own C-based development framework. It bypasses the Arduino layer and provides full access to the chip: FreeRTOS task management, detailed power profiles, hardware-accelerated encryption, wireless update infrastructure, and partitioned flash.
| Arduino | MicroPython | ESP-IDF | |
|---|---|---|---|
| Learning Curve | Very easy | Easy | Steep |
| Working speed | Fast | Slow | Fastest |
| Timing accuracy | Good | Weak | Best |
| Test cycle | Build + deployment | Copy file | Build + deploy |
| Hardware access | Restricted | Restricted | Full |
| For robot control | Suitable | Not recommended | Suitable (more than enough) |
Practical tip: Stick with the Arduino core for robot projects. Try MicroPython for IoT and sensor projects. Switch to ESP-IDF only when the Arduino layer prevents you from doing something—by then, you’ll already know exactly what you need.
Areas where Arduino still has the edge
1. The 5-volt world
Most sensors, relay boards, and LCD modules on the market operate at 5 V logic levels. The Arduino Uno drives these directly. With the ESP32, you need to add a level shifter or voltage divider for each 5 V module.
This may seem like a minor detail on paper, but it increases circuit complexity, the number of solder joints, and the likelihood of errors. In a project with five sensors, that means five additional circuits.
The ESP32’s GPIO pins are not 5 V-tolerant. A common mistake is connecting the Echo output of a 5 V sensor—such as the HC-SR04—directly to the ESP32; this will damage the pin either immediately or over time. A simple voltage divider (1 kΩ + 2 kΩ) solves this problem.
2. Analog Reading Quality
The ESP32’s internal ADC offers 12-bit resolution but has poor linearity. It exhibits significant deviation at the extremes, and ADC2 channels become unusable when Wi-Fi is active.
Arduino’s 10-bit ADC has lower resolution but is more predictable. In applications such as potentiometers, sensor arrays, or voltage measurements, this predictability is more valuable than resolution.
In a line-following robot that works intensively with analog sensors, this difference is immediately noticeable; if you need to continuously and rapidly read eight channels, the Arduino option produces fewer surprises.
3. Durability and Simplicity
The chip on the Arduino Uno may be in a DIP socket—if it burns out, you replace the 30 TL chip; you don’t throw away the board. The ESP32 module is soldered in; if it fails, the entire board is unusable.
Additionally, with Arduino, you don’t have to deal with issues like the bootloader, power management, or pin limitations. With the ESP32, the question “Why isn’t this pin working?” comes up much more frequently.
Areas Where the ESP32 Wins by a Landslide
1. Wireless connectivity
Having Wi-Fi and Bluetooth built-in offers a level of convenience that goes beyond simply adding an external module. With the ESP32:
- You can control your robot from your phone.
- You can send sensor data to a server in real time.
- The board itself can function as a web server and provide a configuration interface.
- You can perform over-the-air (OTA) firmware updates.
In robotics competitions, being able to adjust PID coefficients in real time from your phone reduces the tuning process from hours to minutes. This alone might be reason enough to choose the ESP32.
2. Processing Power and Memory
Working with just 2 KB of RAM means you’ll eventually hit a wall. You define a sequence, and the board reboots for no apparent reason. Pushing this limit is much harder with the ESP32.
Having a dual-core processor is also important: you can dedicate one core to the control loop and the other to Wi-Fi and communication. This ensures that network traffic doesn’t interfere with motor control.
3. PWM Flexibility
On the Arduino, PWM is limited to just 6 specific pins and is tied to timers; changing the frequency requires modifying the timer registers. The ESP32 has 16 independent PWM channels that can be assigned to any pin, and both frequency and resolution are set with a single line of code:
// ESP32: 20 kHz frekans, 10 bit çözünürlük
ledcSetup(0, 20000, 10);
ledcAttachPin(MOTOR_PIN, 0);
ledcWrite(0, 512);        // %50 doluluk
Being able to select an inaudible frequency—such as 20 kHz—when driving a motor completely eliminates motor hum. This is a detail that’s often overlooked but makes a real difference in motor driver selection.
Which one for which project
| Project | Recommended | Reason |
|---|---|---|
| Learning, first circuits | Arduino Uno | Most examples, fewest surprises |
| Line-following robot | Arduino Nano | Fast and predictable analog readings |
| Mini sumo robot | Both | ESP32 offers the advantage of live configuration |
| Remote-controlled vehicle | ESP32 | Built-in Wi-Fi/BLE |
| Data logger (IoT) | ESP32 | Network + memory + deep sleep |
| Automation focused on relays and 5 V modules | Arduino Uno | No need to worry about level converters |
| Battery-powered, long-lasting sensor | ESP32 | 10 µA deep sleep |
| Image processing | None | Requires a Raspberry Pi |
Things to Consider When Switching to ESP32
If you’re switching from Arduino to ESP32, don’t expect your code to work exactly the same. Here are the differences:
Limited pins
Not all pins on the ESP32 can be used freely:
- GPIO 6–11: Connected to internal flash memory. Do not use them.
- GPIO 34–39: Input only. Cannot provide an output; no internal pull-up.
- GPIO 0, 2, 12, 15: Determine the boot mode at startup. Circuits connected to these pins may prevent the board from powering on.
- ADC2 channels: Cannot be used while Wi-Fi is enabled.
This list explains most cases where “the code is correct but doesn’t work” on the ESP32.
No analogWrite
In older versions of the ESP32 kernel analogWrite() ; instead, ledcWrite() is used. A compatibility layer has been added in newer versions, but using `LEDC` directly for control is more reliable.
Pay attention to power supply
While sending data via Wi-Fi, the ESP32 can draw a current of nearly 500 mA for brief moments. If you power it from a USB port or a weak regulator, the board will constantly reboot—and you’ll usually mistake this for a “code error.”
If the ESP32 is rebooting for no apparent reason, check the power supply first. Placing a 470–1000 µF electrolytic capacitor between the power pins absorbs the current spike during Wi-Fi transmission and usually resolves the issue completely.
Application: Live PID Adjustment from a Phone
This is the ESP32’s most tangible benefit in robotics. You can turn the board into a web server and adjust the coefficients from your phone—no more plugging in a USB cable and uploading code for every test.
#include <WiFi.h>
#include <WebServer.h>

WebServer sunucu(80);
float Kp = 0.08, Ki = 0.0, Kd = 1.2;

void ayarSayfasi() {
  String h = "<meta name=viewport content='width=device-width'>"
             "<form action=/kaydet>"
             "Kp <input name=p value=" + String(Kp, 4) + "><br>"
             "Ki <input name=i value=" + String(Ki, 4) + "><br>"
             "Kd <input name=d value=" + String(Kd, 4) + "><br>"
             "<button>Kaydet</button></form>";
  sunucu.send(200, "text/html", h);
}

void kaydet() {
  if (sunucu.hasArg("p")) Kp = sunucu.arg("p").toFloat();
  if (sunucu.hasArg("i")) Ki = sunucu.arg("i").toFloat();
  if (sunucu.hasArg("d")) Kd = sunucu.arg("d").toFloat();
  sunucu.sendHeader("Location", "/");
  sunucu.send(303);
}

void setup() {
  WiFi.softAP("Robot-Ayar", "12345678");   // kendi ağını kurar, router gerekmez
  sunucu.on("/", ayarSayfasi);
  sunucu.on("/kaydet", kaydet);
  sunucu.begin();
}
softAP Important note: The robot sets up its own Wi-Fi network and does not attempt to connect to the crowded network at the competition venue. Connect to the “Robot-Ayar” network from your phone and go to 192.168.4.1 to change the coefficients.
Refer to the PID guide for what the coefficients mean and the order in which they should be set.
Do not run the web server on the same core as the control loop. sunucu.handleClient() call sometimes blocks for milliseconds and disrupts your motor control. On the ESP32, assign the control loop to a separate task and pin it to core 1.
Deep Sleep and Battery Life
In battery-powered sensor projects, the ESP32’s main advantage is its deep sleep mode. The board drops to 10 µA, wakes up at a specified time, takes a measurement, sends the data, and goes back to sleep.
#define UYKU_SURESI 600        // saniye = 10 dakika

void setup() {
  olcumYapVeGonder();
  esp_sleep_enable_timer_wakeup(UYKU_SURESI * 1000000ULL);
  esp_deep_sleep_start();      // buradan sonrası çalışmaz, setup baştan başlar
}

void loop() { }                // derin uykuda loop kullanılmaz
A rough estimate: A 2000 mAh battery powers a continuously running ESP32 for about 10 hours. The same battery lasts for months when the ESP32 wakes up for 5 seconds every 10 minutes.
RAM contents are lost during deep sleep; mark the values you need to preserve RTC_DATA_ATTR :
RTC_DATA_ATTR int uyanmaSayisi = 0; // derin uykuyu atlatırSo which one should you get?
Practical answer: Get both. The total cost is about the price of a dinner, and you’ll have two different tools at your disposal.
But if you’re going to buy just one board:
- If you’re new to electronics: Arduino Uno. The learning curve is gentle, it’s highly error-tolerant, and resources are endless. With the Arduino starter guide, you can build a solid foundation in 30 days.
- If you already have a foundation and your project involves wireless connectivity: ESP32. You won’t look back.
Choosing a board is actually one of the least important decisions in a project. Your choice of sensors, power system, and control algorithm will have a much greater impact on the outcome. The sensor guide and LiPo battery guide cover these two aspects in depth.
Frequently asked questions
ESP32 Arduino’nun yerini alır mı?
Çoğu projede evet — daha hızlı, daha çok belleği var ve Wi-Fi/Bluetooth dahili. Ancak 5 V mantık seviyesi gerektiren devrelerde, çok sayıda analog giriş gerektiren hassas ölçümlerde ve gerçekten basit projelerde Arduino Uno hâlâ daha pratik ve daha dayanıklıdır.
ESP32 Arduino IDE ile programlanabilir mi?
Evet. Arduino IDE’ye Kart Yöneticisi’nden ESP32 desteğini ekledikten sonra aynı setup()/loop() yapısıyla programlarsınız. Arduino kütüphanelerinin büyük kısmı doğrudan çalışır; donanıma özel olanlar (ör. AVR zamanlayıcı kütüphaneleri) çalışmaz.
ESP32 5 volt ile çalışır mı?
Kartın VIN pini 5 V kabul eder ama GPIO pinleri sadece 3,3 V toleranslıdır. 5 V çıkışlı bir sensörü doğrudan bir GPIO’ya bağlarsanız pini kalıcı olarak bozabilirsiniz. Gerilim bölücü veya seviye çevirici (level shifter) kullanın.
ESP32’nin ADC’si neden kötü?
ESP32’nin dahili ADC’si doğrusal değildir ve özellikle 0,1 V altı ile 3,1 V üstü bölgelerde belirgin sapma gösterir. Ayrıca Wi-Fi aktifken ADC2 kanalları kullanılamaz. Hassas analog ölçüm için harici bir ADC (ADS1115 gibi) kullanmak en sağlam çözümdür.
Robot projeleri için hangisi daha uygun?
Kablosuz kontrol, telemetri veya birden fazla işi aynı anda yapmak gerekiyorsa ESP32. Saf çizgi izleyen veya mini sumo gibi tek görevli, yüksek hızlı analog okuma yapan robotlarda Arduino Nano/Uno hâlâ çok sağlam bir seçim.
ESP32-S3 ile ESP32-C3 arasındaki fark nedir?
S3 Xtensa mimarili, çift çekirdekli ve vektör komutları sayesinde kamera/ses gibi yapay zeka işlerinde güçlüdür. C3 ise RISC-V mimarili, tek çekirdekli, çok daha ucuz ve düşük güç tüketimlidir; ESP8266’ın modern yerini alır. Kısaca: ağır işlem için S3, ucuz ve basit Wi-Fi bağlantısı için C3.
ESP32 ile Python kullanabilir miyim?
Evet. MicroPython veya CircuitPython bellenimini yükledikten sonra karta doğrudan .py dosyası kopyalayarak çalıştırırsınız — derleme beklemesi olmaz. IoT ve sensör projeleri için çok hızlı bir yol. Ancak yorumlanan bir dil olduğu için motor kontrolü ve PID gibi sabit zamanlama isteyen işlerde C/C++ tercih edin.
ESP-IDF kullanmak zorunda mıyım?
Hayır. Robot ve hobi projelerinin neredeyse tamamı Arduino çekirdeğiyle yazılabilir. ESP-IDF’e ancak özel uyku modları, hassas donanım zamanlayıcıları, FreeRTOS görev yönetimi veya kablosuz güncelleme altyapısı gibi Arduino katmanının açmadığı yetenekler gerektiğinde geçin.
Comments
0No comments yet. Be the first to comment!