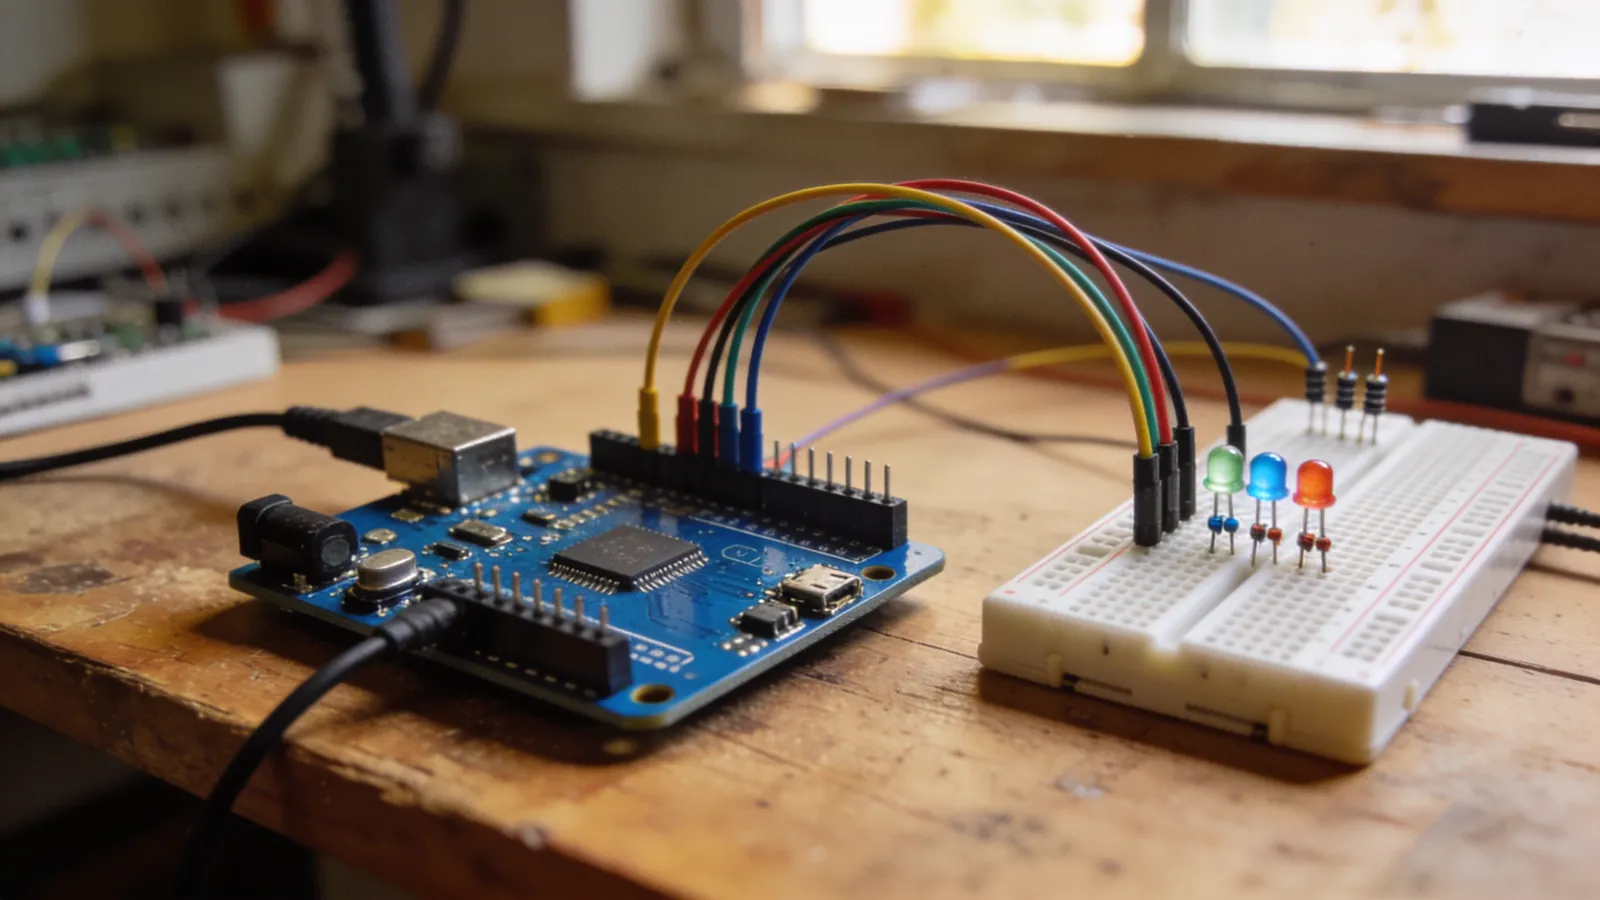
Getting started with Arduino is easy; the real challenge is getting through the first month without losing motivation. Most people buy a starter kit, make an LED turn on and off, and then give up because they don’t know what to do next. The problem isn’t with them—it’s the lack of a roadmap.
In this article, I’m giving you a concrete 30-day plan. I’ll walk you through, step by step, what to learn and when, what supplies you’ll need, and which mistakes waste your time.
What Exactly Is Arduino?
Arduino is a microcontroller development board. The chip at its center (the ATmega328P in the Uno) is a small computer: it has no operating system and runs a single program in an infinite loop.
What makes Arduino popular isn’t the chip itself, but the ecosystem surrounding it: the USB converter on the board, the voltage regulator, the standard pin layout, and the massive library archive. Thanks to these, reading a sensor becomes a matter of writing a single line of code instead of having to decipher the datasheet.
Two Basic Functions
Every Arduino program consists of two functions:
void setup() {
  // Kart açıldığında BİR KEZ çalışır.
  // Pin yönleri, seri haberleşme, başlangıç ayarları buraya.
}

void loop() {
  // setup() bittikten sonra SONSUZA KADAR tekrar eder.
  // Asıl işi yapan kod buraya.
}
Grasping the logic behind this pair is the most important takeaway from the first day. loop() It runs thousands of times per second; therefore, every delay you include directly increases your robot’s response time.
What You Should Buy
Ready-made starter kits work, but you’ll never use half of what’s inside them. Here’s the list of what you’ll actually need:
| Part | Quantity | Why it’s necessary |
|---|---|---|
| Arduino Uno R3 (can be a clone) | 1 | Main board |
| Breadboard (830 holes) | 1 | For solderless circuit assembly |
| Jumper wire set (E-E, E-D, D-D) | 1 set | For connecting everything |
| Resistor set (220Ω, 1kΩ, 10kΩ) | 1 set | LED and button circuits |
| LEDs (red, green, yellow) | 10+ | Output visualization |
| Button (tact switch) | 5 | Input reading |
| 10kΩ potentiometer | 2 | Learning analog input |
| SG90 servo motor | 2 | First Movement |
| Multimeter | 1 | The most critical tool. You can’t fix what you can’t measure. |
If your budget is tight, cut back on the parts list—but don’t skimp on the multimeter. A simple multimeter costing 300–500 TL will save you dozens of hours by measuring voltage and continuity. Instead of guessing why a circuit isn’t working, you’ll measure it.
30-Day Plan
Week 1 — The Digital World
Goal: To understand the on/off behavior of pins and basic program flow.
- Days 1–2: Install the Arduino IDE, upload the Blink example,
pinModeanddigitalWrite. - Days 3–4: Multiple LEDs,
forsequential lighting using a loop (running lights). - Days 5–6: Reading a button,
digitalRead, pull-up resistor logic, andINPUT_PULLUP. - Day 7: Controlling an LED with a button + the button debounce problem.
Debounce was the most instructive topic of the first week: when a mechanical button is pressed once, it electrically turns on and off multiple times. Solving this with code was the first lesson showing that the real world isn’t ideal.
Week 2 — The Analog World
Objective: to read and generate continuously changing signals.
- Days 8–9: Using a potentiometer
analogRead, 0–1023 range. - Days 10–11:
analogWriteand LED brightness using PWM. Understanding that PWM is not truly analog. - Days 12–13:
map()andconstrain()functions — converting value ranges. - Day 14: Monitoring data and debugging with the Serial Monitor.
Learn the Serial Monitor early on. Embedded systems don’t have screens; Serial.println() it’s your only window.
Week 3 — Sensors and motion
Objective: to read the outside world and interact with it.
- Days 15–16: Distance measurement with the HC-SR04 ultrasonic sensor.
- Days 17–18: Temperature reading with the DHT11 / LM35, library setup.
- Days 19–20: Servo motor control, angle commands.
- Day 21: Forward, reverse, and turn using a DC motor and an L298N/TB6612 driver board.
When you get to the motor driver, you’ll encounter your first serious power issue: the motors cannot be powered by the Arduino’s pins. This is a natural point to learn about separate power supplies and the concept of a common ground (GND).
Week 4 — First Real Project
Goal: Put the parts together to create something that works on its own.
- Days 22–24: Project selection and drawing the circuit diagram. Draw it before writing any code.
- Days 25–28: Implementation, debugging, and optimization.
- Days 29–30: Documentation: Record the project with schematics, code, and photos.
Good options for the Week 4 project: an obstacle-avoidance robot, an automatic watering system, a parking sensor, a digital thermometer, or a simple line-following robot.
Essential Electronics Knowledge
The electronics side will be where you’ll struggle the most while learning Arduino. These three concepts will prevent most mistakes.
Ohm’s Law
V = I × R. The relationship between voltage, current, and resistance. This formula explains why you need to add a resistor to an LED: an LED connected directly to a 5 V power source will draw unlimited current and burn out.
LED resistance calculation: R = (Kaynak Gerilimi − LED Gerilimi) / İstenen Akım. For a red LED: (5 − 2) / 0.02 = 150 Ω. 220 Ω is a common and safe choice.
Common Ground
When using different power sources (Arduino from USB, motors from a battery), all GNDs must be connected to each other. Otherwise, signals will lack a reference and the circuit will behave erratically. This is the most common pitfall for beginners.
Current Limits
| Source | Safe Limit | Note |
|---|---|---|
| Single digital pin | 20 mA | Absolute maximum 40 mA—do not exceed |
| Total for all pins | 200 mA | Total chip limit |
| 5V pin (via USB) | ~500 mA | Determined by the USB port |
| 5V pin (via adapter) | ~800 mA | The regulator gets hot—be careful |
Never power a motor, heater, or multiple high-power LEDs directly from an Arduino pin. Use a transistor, MOSFET, relay, or motor driver board for this purpose. You cannot restore a burned-out pin.
The ten functions you’ll use most
Arduino has hundreds of functions, but 90% of projects are written using these ten. Don’t try to memorize them; you’ll get the hang of them as you use them.
| Function | What it does | Typical use |
|---|---|---|
pinMode(pin, mod) | Sets a pin as an input or output | pinMode(13, OUTPUT) |
digitalWrite(pin, deger) | Sets a pin to 5 V or 0 V | LED, relay |
digitalRead(pin) | Reads the pin's state | Button |
analogRead(pin) | Reads a value between 0 and 1023 | Potentiometer, sensor |
analogWrite(pin, deger) | Generates PWM (0–255) | LED brightness, motor speed |
millis() | Milliseconds elapsed since startup | Non-blocking timer |
map(d, a1, a2, b1, b2) | Converts values between ranges | 0–1023 → 0–255 |
constrain(d, alt, ust) | Limits the value | Do not exceed motor speed |
Serial.println(x) | Writes data to the computer | Debugging |
attachInterrupt(...) | Calls a function when an event occurs | Encoder, quick button |
The "map" and "constrain" pair
These two are used side by side in almost every project and contain the detail that beginners most often overlook: map() they don’t perform boundary checks.
int ham = analogRead(A0);              // 0–1023 bekleniyor
int hiz = map(ham, 100, 900, 0, 255);  // ama 100'ün altı negatif çıkar
hiz = constrain(hiz, 0, 255);          // bu satır olmadan motor ters döner
Reading circuit diagrams
At a certain point, you won’t be able to build a circuit just by looking at photos of projects you find online; you’ll need to read schematics. The good news is that the number of symbols used in robotics is very small.
Basic symbols
- Straight line: Wire. Lines that intersect but don’t share a point are not connected.
- Dot: There is a connection.
- Zigzag or rectangle: Resistor.
- Triangle + line: LED (the arrow indicates the light).
- Three downward-pointing lines: Ground (GND).
- Upward arrow or VCC label: Power supply.
The meaning of the ground symbol
The GND symbol appears in multiple places on schematics, but they all refer to the same point. To keep the schematic from getting too complicated, a wire isn’t drawn every time. When building the circuit, you must connect all of these to each other.
This is one of the most common mistakes beginners make: using different power sources without connecting the grounds. The system won’t work, and the cause isn’t obvious.
Five Mistakes That Waste Time
- Not drawing a schematic before writing code. The circuit in your head will never match the one on the breadboard. Draw it on paper.
- Setting everything up all at once. Test the sensor on its own, test the motor on its own, then put them together.
- Using libraries without understanding them. Libraries make things easier, but reading through how a single sensor works by hand once teaches you how to handle the next hundred.
delay()Dependencies.delay()completely halts the program. In projects with multiple tasks,millis()Learn about timing.- Relying on guesswork for debugging.
Serial.println()Print variables, measure voltage with a multimeter. Don’t guess—measure.
Use `millis()` instead of `delay()`
This marks the transition from beginner to intermediate level:
unsigned long sonZaman = 0;
const unsigned long ARALIK = 1000;

void loop() {
  // Bu blok saniyede bir çalışır ama programı durdurmaz
  if (millis() - sonZaman >= ARALIK) {
    sonZaman = millis();
    ledDurumu = !ledDurumu;
    digitalWrite(LED_PIN, ledDurumu);
  }

  // Bu satırlar kesintisiz çalışmaya devam eder
  butonKontrol();
  sensorOku();
}
Debugging: The Systematic Approach to Finding a Malfunctioning Circuit
At some point, your circuit won’t work, and you won’t know why. This is the moment when learning truly begins—as long as you approach the problem systematically instead of randomly fiddling with wires.
First, split it in two
Determine whether the problem is in the hardware or the software. The fastest way to do this is to test the component you suspect on its own:
- Is the sensor not reading? Clear the code and write only
Serial.println(analogRead(A0))write it. If a value comes through, the sensor is fine; the problem is in the main code. - Is the motor not spinning? Bypass the driver and connect the motor directly to the battery. If it spins, the motor is working.
- Is nothing working at all? Upload the Blink example. If the LED blinks, the board and USB are working.
Classic problems solved in five minutes
| Symptom | First place to check |
|---|---|
| Code won’t upload | Is the correct board/port selected? Is the cable carrying data? Is there a module on pins 0/1? |
| The board keeps rebooting | Insufficient current—the motor or servo may be drawing power from the pin |
| Serial Monitor displays garbled characters | The baud rate doesn’t match the code (9600 / 115200) |
| Button is triggering randomly | No pull-up resistor; INPUT_PULLUP use one |
| Sensor values are fluctuating | No common ground, or motor noise is bleeding into the signal line |
| The servo is vibrating | No separate 5 V power supply |
| The code is getting stuck somewhere | Blocking delay() or infinite while |
Test at every step as you build your circuit. If you connect all ten components at once and then say “it doesn’t work,” you’re left with ten separate suspects. If you add them one by one, you’ll catch the component causing the problem the moment you add it.
Three measurements with a multimeter
- Voltage: Place the black probe on GND and the red probe on the point you want to measure. If you expect 5 V but see 3.2 V, there’s a power supply issue.
- Continuity: Set to beep mode. Touch both ends of the wire; if it doesn’t beep, the wire is broken. Use this to check breadboard rows as well.
- Resistance: Verifies that the resistor is actually the value you expect. Reading the color code can be misleading.
Preparing to Scale Your Code
By the end of the first month, your code will be a single long loop() . As projects grow, this structure breaks down. Two habits prevent this.
Break tasks down into functions
void loop() {
  sensorleriOku();
  kararVer();
  motorlariSur();
  durumuBildir();
}
These four lines are much easier to read and debug than a loop(). When something breaks, you’ll know which function to look at.
Group constants in one place
// Pin tanimlari
const uint8_t SOL_MOTOR_PWM  = 5;
const uint8_t SAG_MOTOR_PWM  = 6;
const uint8_t MESAFE_TRIG    = 9;
const uint8_t MESAFE_ECHO    = 10;

// Ayarlar
const int  TABAN_HIZ    = 150;
const int  ENGEL_MESAFE = 25;   // cm
const bool HATA_AYIKLA  = true;
Instead of searching through the code when you change a pin, you simply edit a single line. HATA_AYIKLA A flag like this also lets you enable or disable serial output from a single location:
if (HATA_AYIKLA) { Serial.println(mesafe); }What’s the next step?
After 30 days, you’ll have the basic building blocks in hand. From there, there are two paths:
- Go deeper: Interrupts, timers, I2C and SPI communication, power management.
- Expand: Switch to the ESP32 for Wi-Fi and Bluetooth; use a Raspberry Pi for image processing.
If you want to focus on robotics, the natural sequence is this: first, learn control logic with a line-following robot, then learn the mechanical and strategic aspects with a mini sumo robot. Together, these cover nearly all the skills you’ll need for robotics competitions.
Frequently asked questions
Arduino öğrenmek için programlama bilmek şart mı?
Hayır. Arduino dili C++ tabanlıdır ama başlamak için sadece birkaç kavram yeterli: değişken, koşul (if), döngü (for) ve fonksiyon. Bunları zaten ilk hafta içinde devre kurarak öğreniyorsunuz. Önce teoriyi bitirip sonra başlamaya çalışmak en yaygın motivasyon kırıcıdır.
Hangi Arduino kartını almalıyım?
Başlangıç için Arduino Uno R3 (veya uyumlu bir klon) en doğru seçim: en çok örnek, en çok kütüphane, en dayanıklı yapı. Yer sıkıntısı olan projelerde Nano, Wi-Fi gerektiren projelerde ise ESP32 tercih edin.
Orijinal Arduino mu klon mu almalıyım?
Öğrenme aşamasında klon kartlar tamamen yeterli ve çok daha ucuz. Tek dikkat edilecek nokta, CH340 USB çipli klonlarda sürücü kurulumunun gerekebilmesi. Orijinal kart, daha iyi gerilim regülatörü ve garanti isteyen kalıcı projelerde anlamlı.
Arduino ile neler yapılabilir?
Sensör okuma ve veri kaydı, motor ve ışık kontrolü, robotlar, otomasyon sistemleri, ölçüm cihazları, oyun kumandaları. Sınır genelde hesaplama gücü: video işleme veya ağır algoritmalar için Raspberry Pi gibi bir kart gerekir.
Arduino kodu neden karta yüklenmiyor?
Sırayla kontrol edin: doğru kart ve doğru port seçili mi, USB kablosu veri aktarıyor mu (bazı kablolar yalnızca şarj eder), Seri Monitör başka bir programda açık mı, ve pin 0/1’e bağlı bir modül var mı. Bu dört madde yükleme sorunlarının büyük kısmını çözer.
Comments
0No comments yet. Be the first to comment!